Sunday 31 December 2023

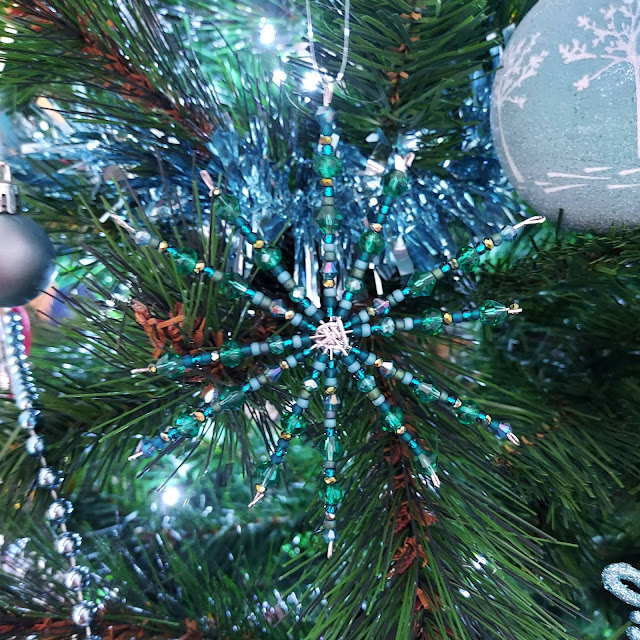
Beaded Snowflake

I didn't expect to finish anything else this year, but I'm sneaking in with one last post of 2023!

My lovely friend Anna gave me a kit for a beaded snowflake for Christmas, from Katie Aldred Designs.

Usually it takes me forever to get anything made these days - but I made this up in record time!

Beaded snowflake

The kit comes with the snowflake shape already made out of sturdy metal wire.  You then have bags of beads to arrange onto the wires.  Once finished, you turn the ends of the wires over with round nose pliers to keep the beads on.

Beaded snowflake

It was a very satisfying make and looks so pretty!

Beaded snowflake

It was quite hard to capture on the tree, but the above gives the idea!

Happy New Year for tomorrow!  We will not be staying up for midnight tonight - we have two small children who wake us up at night and get up early in the morning, so we need every wink of sleep we can get!

I'm hoping that 2024 will be a more creative year, with more makes to post about.  Although I've ended this year well with a flurry of creations!


Wednesday 27 December 2023

Air Dry Clay Christmas Tree Ornaments

I made some Christmas biscuits with the kids the other week, and I used a couple of the Christmas cutters to try cutting out shapes from air dry clay.  The clay I used was from a Sculpd kit.

I made holes in the top of each and let them dry, then painted them with white acrylic paint (that came with the clay).

I then decorated them with Posca pens and varnished with the varnish that came with the clay.  I did all this over a couple of weeks, as I let things dry and also fitted it in around general hectic life!

I made a snowman...

Air Dry Clay Snowman ornament

And a Christmas tree...

Air dry clay Christmas tree ornament

I'm really pleased with them - I think they look really cute!

Air dry clay Christmas Tree ornaments

The handmade decorations on my Christmas tree are really increasing in number!


Sunday 24 December 2023

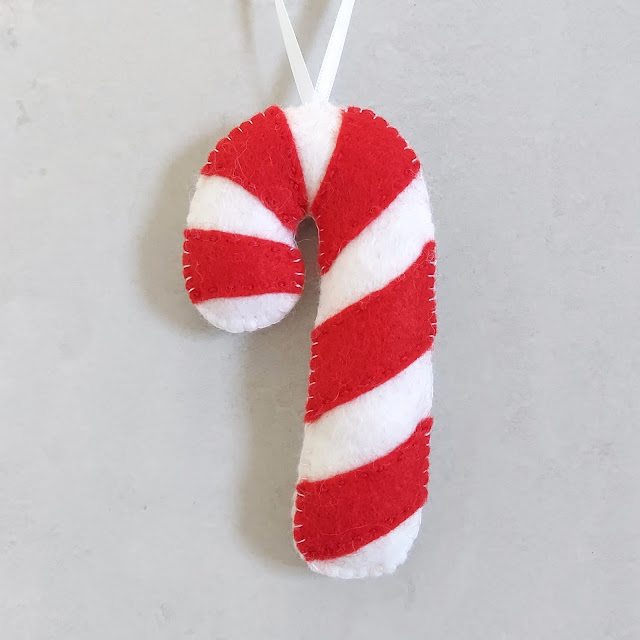
Felt Candy Cane Christmas Tree Decoration

If you have been following for a while, you'll know I started a tradition in 2018 of making a felt Christmas tree decoration every year.

This year I have made a candy cane!

Felt Candy Cane

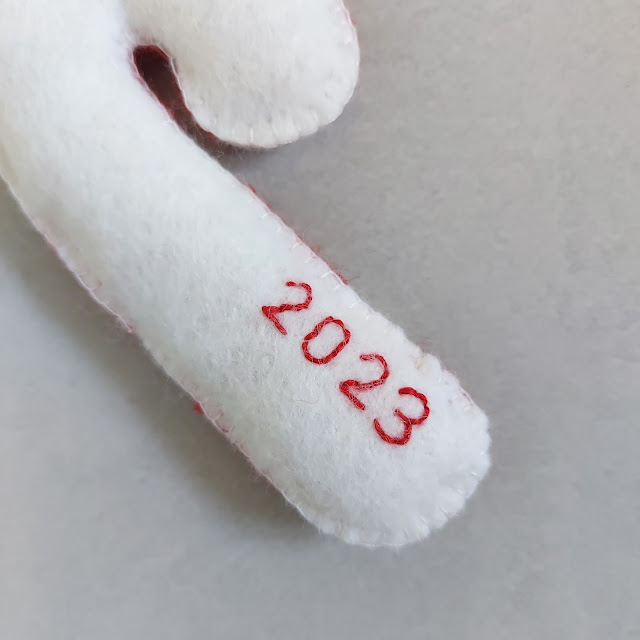
As always, I embroidered the year on the back.

Felt Candy Cane

This year I used a brilliant free pattern by What a Curly Life.  I omitted the holly, as I had a simple candy cane in mind.  I also didn't use whip stitch - instead using running stitch to sew the red stripes on, and blanket stitch around the candy cane.  This was just to tie in with how I'd made the rest of my decorations.

Here they all are together!

Felt Christmas tree ornaments

You can see my posts on the other decorations as follows... 2018 Star2019 Mouse in Stocking2020 Pudding, 2021 Penguin, 2022 Gingerbread Man.

They are starting to become the theme of the Christmas tree now there are so many of them!

Merry Christmas!


Saturday 23 December 2023

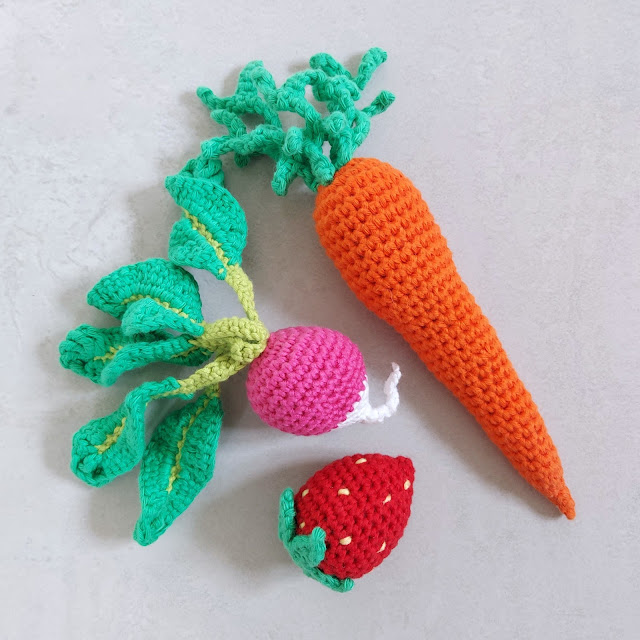
Crochet Radish

 I suddenly realised today that I didn't share the radish I crocheted in the summer!

Crochet Radish

I used scraps of cotton yarn I had and a pattern from this ebook.  It is the third crochet fruit/vegetable I have made from that book.  Here they all are together!


Crochet vegetables

I really need to make more - my daughter keeps requesting a blueberry!  I'm not sure there are any in that book - I'll have to check!


Tuesday 19 December 2023

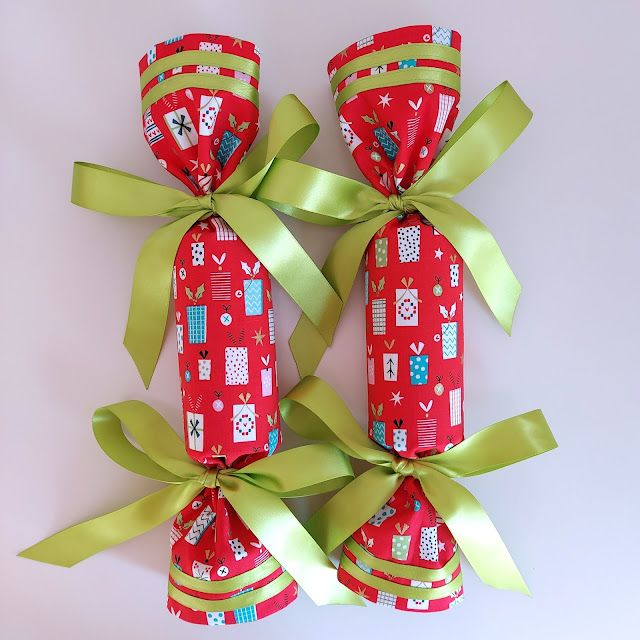
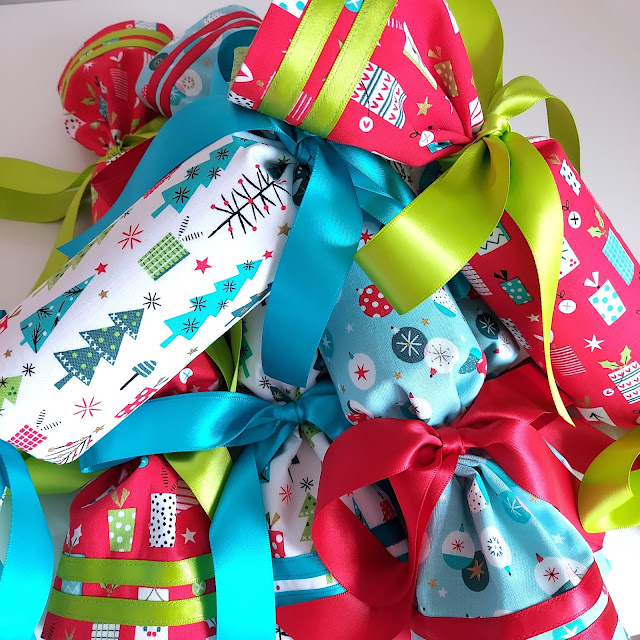
Fabric Reusable Crackers

I'm so pleased with this creation!  I was inspired by Happy Crackers to make my own versions!

Reusable Fabric Crackers


I bought some cardboard tube containers with lids to fill with cracker goodies and form the middle of the crackers.

Reusable Fabric Crackers

I then made lined fabric rectangles with ribbon trims to wrap around the crackers.

Reusable Fabric Crackers

And tied them all with big thick bows!

Reusable Fabric Crackers


The measurements I used were:

Lining and Main Fabric - 45cm long x 27cm wide.

You could go a bit wider, but I was limited by the size of the fabric I had.  After sewing on the ribbon trim, I sewed the lining and main fabric together (right sides together) with a half inch seam allowance at the top and bottom, and a 1cm seam allowance down the sides (to get a bit more width out of the fabric).  (Yes, switching wildly between imperial and metric measurements!!)  I left a gap for turning the right way round, pressed and sewed the gap by hand.

Ribbons - 1cm and 2.5cm satin ribbons.

I sewed one length of 1cm ribbon 1 inch down from the top then left a 0.5cm gap then sewed another length of 1cm ribbon.  I did this at the top and the bottom on the main fabric, before I sewed it to the lining.

I used the 2.5cm ribbon to tie bows at the top and bottom, once the fabric rectangle was wrapped around the inner tube container.  (I think my ribbon was 85cm long for the bows - I don't want to untie them to check!)

Reusable Fabric Crackers

Inside I have put cracker jokes I printed out, small gifts, a chocolate and a party popper!  You open the cracker by unwrapping rather than pulling, so you can't use a cracker snap.  Therefore the party poppers provide the bang element!

Reusable Fabric Crackers


I hope you like them - I love them!  Let me know what you think!

Merry Christmas!


Related Posts Plugin for WordPress, Blogger...