Wednesday, 24 January 2018

Pattern Cutting and Garment Construction - Week 2

Last week I had the second lesson of my course.  Read more about the first lesson here.


Creating a collar pattern and using front and back blocks.

This time we didn't even get onto the sewing machines - it was all paper based.  That's fine with me, as what I'm really interested in learning is the whole pattern side of things - working with patterns, adjusting them, understanding them in order to get a great fit.

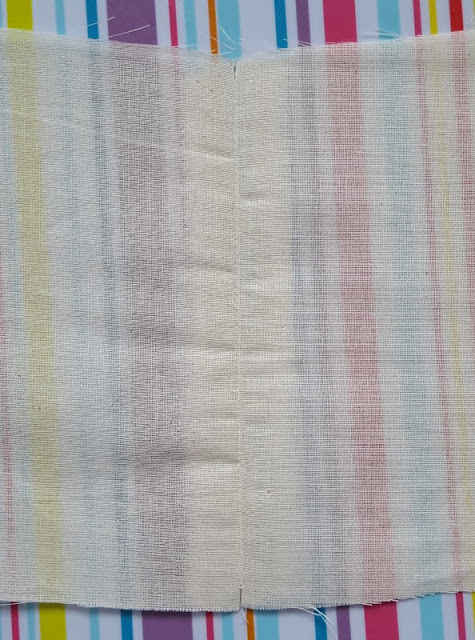
We were working with body blocks - a front and back one - ready for attaching a collar.  We therefore did not need the whole of the body blocks, which is why my pieces are short in the photo above.


Front Block
We learnt how to remove a shoulder dart - which transfers the dart material elsewhere on the block.  In this case, it transferred it into a lower dart that went up the front - which meant that that dart grew wider, but once it was sewn it would be no different than it would have originally been.  It just meant that the dart was removed from the top.  It's one of those things you have to see in real life to make it click - so don't worry if you have no idea what I'm talking about!  It was really interesting to me to understand that.

We also added extra to the side of the pattern that would make the button band down the front.

We then added 1.5cm seam allowance around the block.

Back Block
For the back, we just added the 1.5cm seam allowance.

Collar
Then we drafted an inner and outer collar, using some standard measurements, and the neck measurements of the front and back blocks which we will be attaching the collar to.

We then added 1.5cm seam allowance around the neck pieces.


Would you believe that took us the whole two hours?!  We were supposed to cut it all out of calico fabric and have a go at sewing it together, but time ran out.  Therefore we'll be doing that in the next lesson.

I have to admit that I can't actually see us ending the course with a finished garment, as it all seems to take so long to do.  The time absolutely flies by!  Again, I don't mind really, as I'm more interested in the skills I'm learning rather than ending up with a finished item I can wear.  I'll have plenty of chance to do that in my own time - it's the knowledge and understanding I'm interested in.  I might be wrong, anyway, maybe I will finish a lovely shirt or blouse!

You can read my other posts on the course here:

Week 1
Weeks 3, 4 and 5


Check out my sewing projects here.


Like what you see?  Follow me on bloglovin!


Thursday, 18 January 2018

Knitted Shawl Progress

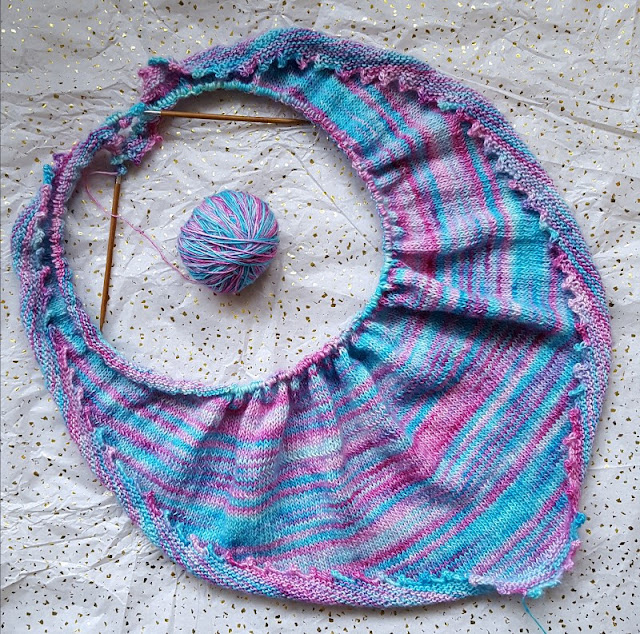
I thought I'd pop in to show you how I'm getting on with my knitted shawl!

Beautiful hand knitted shawl in luxury hand-dyed yarn.

It's coming along rather well and it finally feels as though the ball is actually getting smaller!

It's curling a bit at the ends, but I think once it's finished and blocked it should be ok.  (Who knows?  We'll find out!)

Beautiful hand knitted shawl in luxury hand-dyed yarn.

I'm still completely in love with the feel and colour of the yarn - look how beautiful it is!

Beautiful hand knitted shawl in luxury hand-dyed yarn.

I think it will still be a few more weeks until it's finished, judging on the rate I knit at, but I'm getting there!


The yarn is For the Love of Yarn in the colourway 'Fun at the Fair'.
The pattern is 'Knit Me' by Inspiration Knits.


What do you think?


Check out my (very few) completed knitted projects here.


Like what you see?  Follow me on bloglovin!


Sunday, 14 January 2018

Pattern Cutting and Garment Construction - Week 1

I've begun the year bravely, and started an evening course!  It's at my local technology college and is called Clothes Design - Pattern Cutting and Garment Construction.

I tried to sign up to this course years ago, but on the day I was supposed to start it was cancelled due to lack of interest.  I looked for it a few times afterwards, but it was never running.  I stumbled upon it by accident this time, I hadn't really been thinking about clothes making lately.  However, I'm not sure how often it actually runs, after my last experience, so I had a bit of a feeling of "it's now or never!" - possibly a bit dramatic, as I'm sure there would be plenty of courses I could sign up for at various places over the years to come!

With the wedding coming up, I did wonder whether it was a good idea to have another thing on my plate, but it's only 2 hours one night a week, for 10 weeks.  I think there will be a bit of work to do at home too, but that's surely manageable.  We shall see!

My Goals
What I hope to achieve from this course is more knowledge and skills with regards to sewing clothes.  I am especially interested in the fitting aspect of the sewing - making garments fit my body shape.  I want to have skills that I can use in the future to make my own clothes that actually fit me well - rather than trying to find clothes in the shops which never seem to look right.  In this way, I might be able to design and make my own garments, or know how to alter existing patterns to fit me better.

You can read in a post from 2014 how much trouble I had trying to make a simple top fit me!  It's funny reading that now - so many changes since then...  The pictures show my old hallway with brown carpet and granny wallpaper, before it was decorated.  More importantly, that post references my ex-boyfriend... and I'm now getting married to someone else!  Funny old life!

Anyway, on to my first lesson which I completed this week.  We sewed some seam samples... (these are just using scraps of calico, so are a bit scrappy)...

Open Seam


A selection of seam samples - open seam, welt seam, felled seam.  Click to find out more!
Back
A selection of seam samples - open seam, welt seam, felled seam.  Click to find out more!
Front

I've sewn many open seams before, so this wasn't tricky.  However, I've never overlocked the edges - this was my first time using an overlocker.  They create such a neat professional finish, but went so much faster than I expected!  The first press on the peddle created this...


A selection of seam samples - open seam, welt seam, felled seam.  Click to find out more!

... it just flew away from me!  And it cuts as it goes, so there is no unpicking and correcting it!  I started again with that sample, which was the welt seam...

Welt Seam


A selection of seam samples - open seam, welt seam, felled seam.  Click to find out more!
Back

For this seam, instead of pressing the two ends open (as with the first seam) you overlock them together and press them to the side.  You then top stitch over to keep it secured to the side.


A selection of seam samples - open seam, welt seam, felled seam.  Click to find out more!

If I was doing this again properly I'd probably top stitch nearer to the overlocked edge - or maybe have less of a seam allowance when I sewed the initial seam line.  Apparently it's up to you where you top stitch, depending on what you are making and your personal preference.

Felled (or Flat) Seam


A selection of seam samples - open seam, welt seam, felled seam.  Click to find out more!
Back

For this seam, when you sew your two pieces of fabric together initially, you have one edge poking out more than the other, rather than lining them up evenly.  You then fold the longer piece over the shorter piece, enclosing the raw edge of the shorter piece.  You then fold it all over to one side, enclosing the raw edge of the longer piece.  Then you top stitch this down with a stitch close to the edge of the folded flap.  (This is probably better explained elsewhere online!!)


A selection of seam samples - open seam, welt seam, felled seam.  Click to find out more!
Front

I think this could be more neat and even - but I suppose it's ok for a first attempt.  If the fabric wasn't so see-through it probably would look better too!

Altering the Volume of a Sleeve
We also started work on how to alter the volume of a sleeve.  We took some sleeve blocks and traced them onto pattern paper.  We then had to mark the elbow line and split the upper arm section - above that line - into four pieces, flaring them out.  We stuck this to another piece of pattern paper, and rounded off the pattern lines at the top, where they had been fanned out.  We didn't get much time to do anything more than that - so I'm not sure whether we'll be continuing that next week or not.

New Things
- Sewing a welt seam
- Sewing a felled seam
- Overlocking
- Seeing/using a sleeve block

Considering that this was the first lesson and we also had to do the usual induction type things, I thought we covered quite a bit.

Homework
The aim is to complete the course with a finished shirt or blouse.  We should be thinking about what we'd like that to look like, and gathering inspiration before the next lesson.  The teacher wants us to all end up with an garment that we will actually want to wear, so she is quite flexible about what we make - it could be a dress - but would like it to have a collar and sleeves, so that we are challenging ourselves and learning some technical skills.  That sounds good to me!  Although, I'm not sure what I want to make... I've no idea!  Better get researching, I suppose...


You can read my other posts on the course here:

Week 2

Weeks 3, 4 and 5


Check out my sewing projects here.


Like what you see?  Follow me on bloglovin!


Sunday, 7 January 2018

Extreme Knitting!

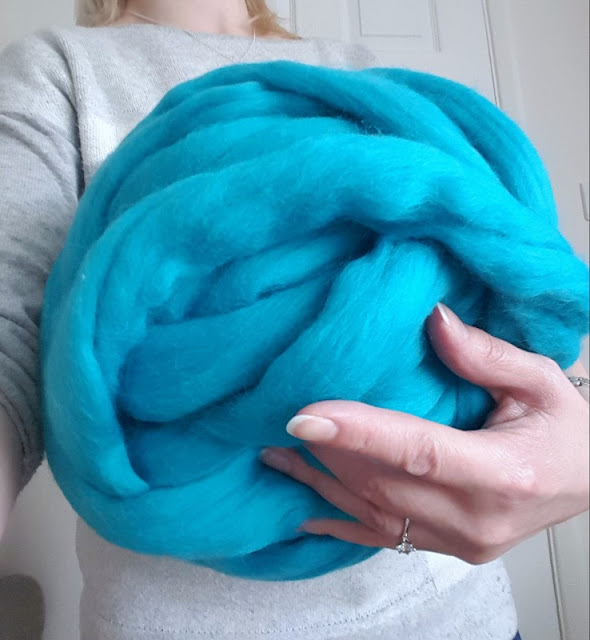
Rob is very good at present buying, and one of my Christmas gifts was a massive ball of unspun merino.  I was so surprised, as I didn't think he even knew about such yarn!

Make gorgeous squishy hand knitting with epic extreme unspun merino wool!

He bought this epic extreme yarn.  I'd not heard of this company - I don't know how he found them, or even thought of this as a present!

I couldn't wait to get started...

Make gorgeous squishy hand knitting with epic extreme unspun merino wool!

I found a youtube tutorial online for hand-knitting - it's so easy!  You don't use needles or anything, just pull up the loops and leave them as you work, as you can see above.

I used 7 stitches across, and just kept knitting until the yarn was finished...

Make gorgeous squishy hand knitting with epic extreme unspun merino wool!

You can see my knees here, to give an idea of scale.

It's so squishy and soft and snuggly - I love it!

I'm not sure what to do with it now, though.  I'm thinking a big chunky cushion, which would mean...

1) I'd need to buy another ball for the back (this one was 500g) - perhaps a different colour like bright pink might be fun!  I could then have the cushion either way round, depending on my mood.

2) Or I could make a fabric cushion cover and sew the chunky knit to the front.  I'm not quite sure how I'd sew it on, though, any tips??

Let me know what you guys think - which option do you think would be best?  And what do you think of my extreme knit square so far?!


Check out my completed knited items here.  There aren't many, but I'm hoping to change that this year - I'm working on a beautiful knitted shawl that you can see the start of in this post!


Like what you see?  Follow me on bloglovin!

Monday, 1 January 2018

Creation Consolidation - 2017!

Happy New Year!

I like to do a post at the end of each year (or beginning of the next) to gather together all my crafty creations of the year in one place... so here it is for 2017.

2017 was very exciting for me, as Rob and I got engaged!!  The wedding is planned for May this year which is coming very quickly... eeeeek!!!

This post is about the craft, though, so I'll move on (but I just had to mention it!)

I've only included finished items here (there are lots of works still in progress) - click on the titles or the pictures to be taken to the blog posts for more information...


crochet finger sloth


sew a zip pouch


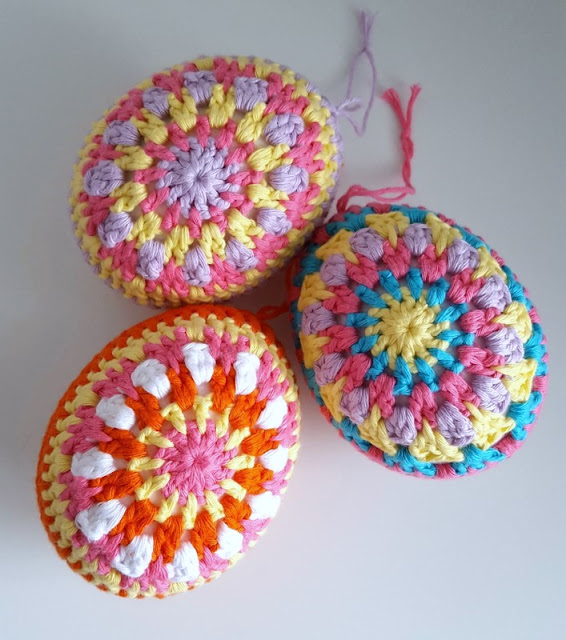
crochet easter eggs


crochet daisy easter eggs


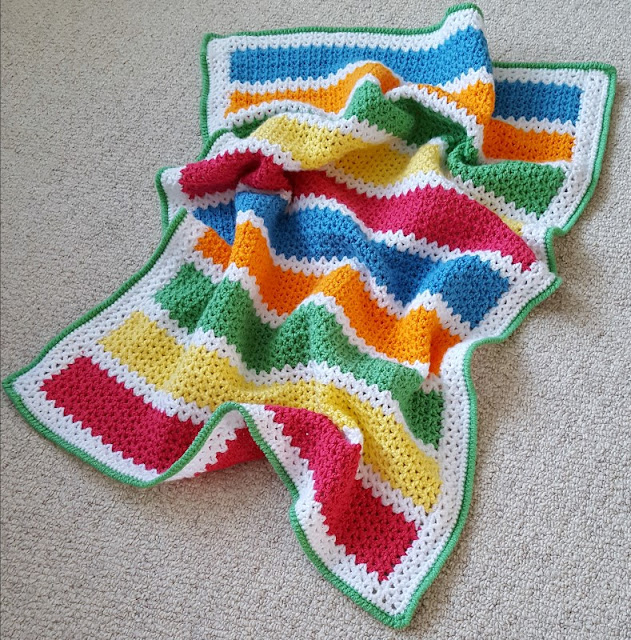
v-stitch crochet baby blanket


crochet eggs


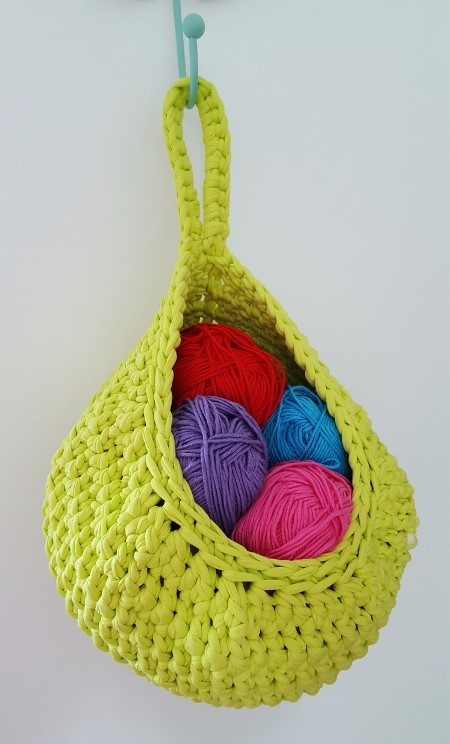
chunky crochet hanging pouch


crochet pineapple


message in a bottle bridesmaid proposal


hello sunshine crochet squares


christmas wreath


crochet spiral christmas decoration


crochet poo emoji

I didn't get that much finished this year - I think wedding planning has taken up a big chunk of my thoughts and energy!  I also spent a lot of time on my colourful crochet blocks - hopefully I'll get that blanket finished this year.  There is also the baby blanket that is just awaiting a border.  So I guess I've done more than this post suggests - not that it matters, who's counting?!

If you are interested, here are my consolidation posts from previous years:

2013
2014
2015
2016


I didn't do a round-up for years before that, but you can see other finished items at the below links:


Here's to a happy creative 2018 for us all!


Like what you see?  Follow me on bloglovin!

Related Posts Plugin for WordPress, Blogger...